How to Create and Sell an NFT
In this tutorial, we will be learning to create our very own NFT and putting it up for sale using the Ethereum network!


Hi there!! 👋 I’m Harpriya, an engineer from Paper. In this tutorial, we will be creating our very own NFT and putting it up for sale using the Ethereum network! You can use any image of your choice, but I will be using a picture of my favorite anime character, Rock Lee. Feel free to join along! It’ll be my first time creating an NFT too. If you have any questions, feel free to ask the #web3-education channel in the discord. The discord will be full of fellow builders working through the same tutorial that you can ask for assistance from. The Paper team will also be active on the channel to help everyone out, including me!
Note: There will be no coding knowledge required to do this tutorial.
Prerequisites
- Understanding what an NFT is
- Having access to the Paper Discord Community
If you feel the need to brush up on any sort of background, check out the following resources before proceeding:
- Learn what an NFT is. It’s so simple, and Farza does a great job with make analogies comparing NFTs to Picasso’s art!
- Introduction to Ethereum
Overview
For this tutorial, we will be following a very simple 3-part process:
- Create a Smart Contract
- Create a Checkout Flow
- Customize!! (Optional, but this is the most fun part imo!)
Part 1: Create a Smart Contract
A smart contract is just a fancy word for code that exists on the blockchain. The cool part about smart contracts is that since it exists on the blockchain, a lot of the executions of the code can be automated. So, for example, if I wrote a smart contract to sell an NFT with a royalty structure, I could automatically receive a certain percentage everytime someone sold my NFT changed hands, no matter which secondary marketplace they used!
In this tutorial, we’ll be creating a smart contract without writing any code. Pretty crazy, right?! There’s actually a tool out there to accomplish just this, and it's called thirdweb. Thirdweb has many options for creating a pre-built contracts. We will be using one called the “NFT Drop” contract.
Before we begin, make sure you have a wallet! A wallet is where we can store our NFTs, share them with the world, or even transfer them to other wallets. There’s many popular options for wallets out there such as MetaMask or Coinbase Wallet. If this is your first time using a wallet, we recommend following this guide from our friends over at thirdweb to set up a MetaMask wallet.
Let’s get started:
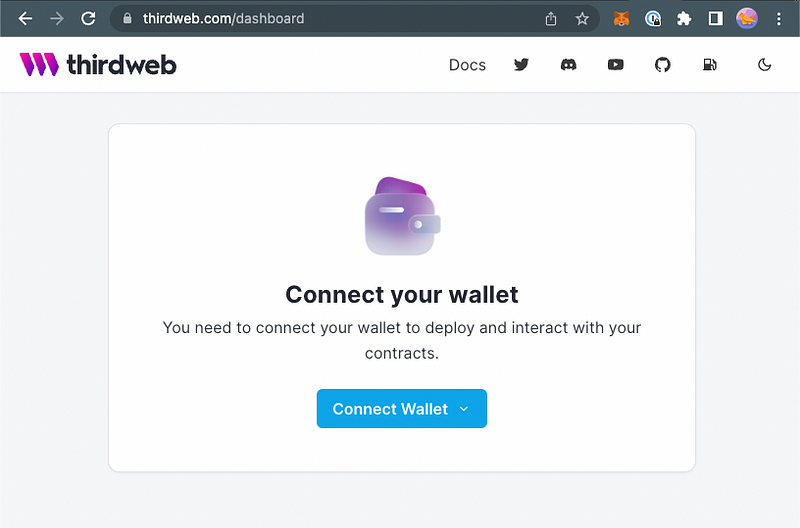
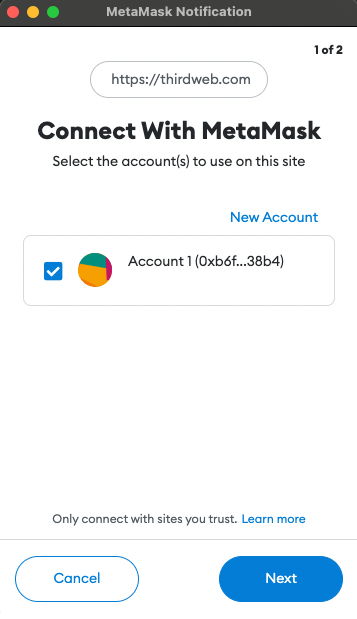
#1) Connect your wallet to thirdweb: Go to the thirdweb Dashboard and click “Connect Wallet”.
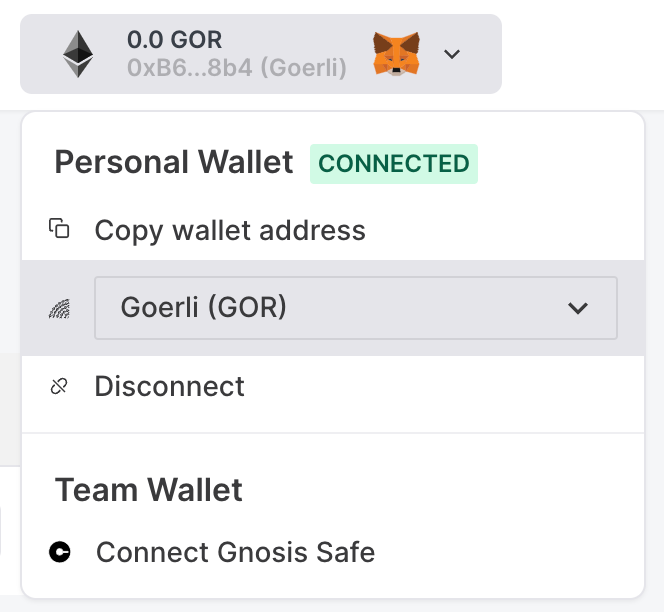
#2) At the top right corner of your thirdweb dashboard, click on your wallet to change your network. We are going to switch to “Goerli Test Network”. This ensures we aren’t spending real ETH (which is expensive‼️) to create this project. The Goerli test network uses GOR, which is the equivalent of fake money or fake ETH. This is useful because getting fake money (GOR) is fairly simple and we’ll use some to deploy our smart contract later!
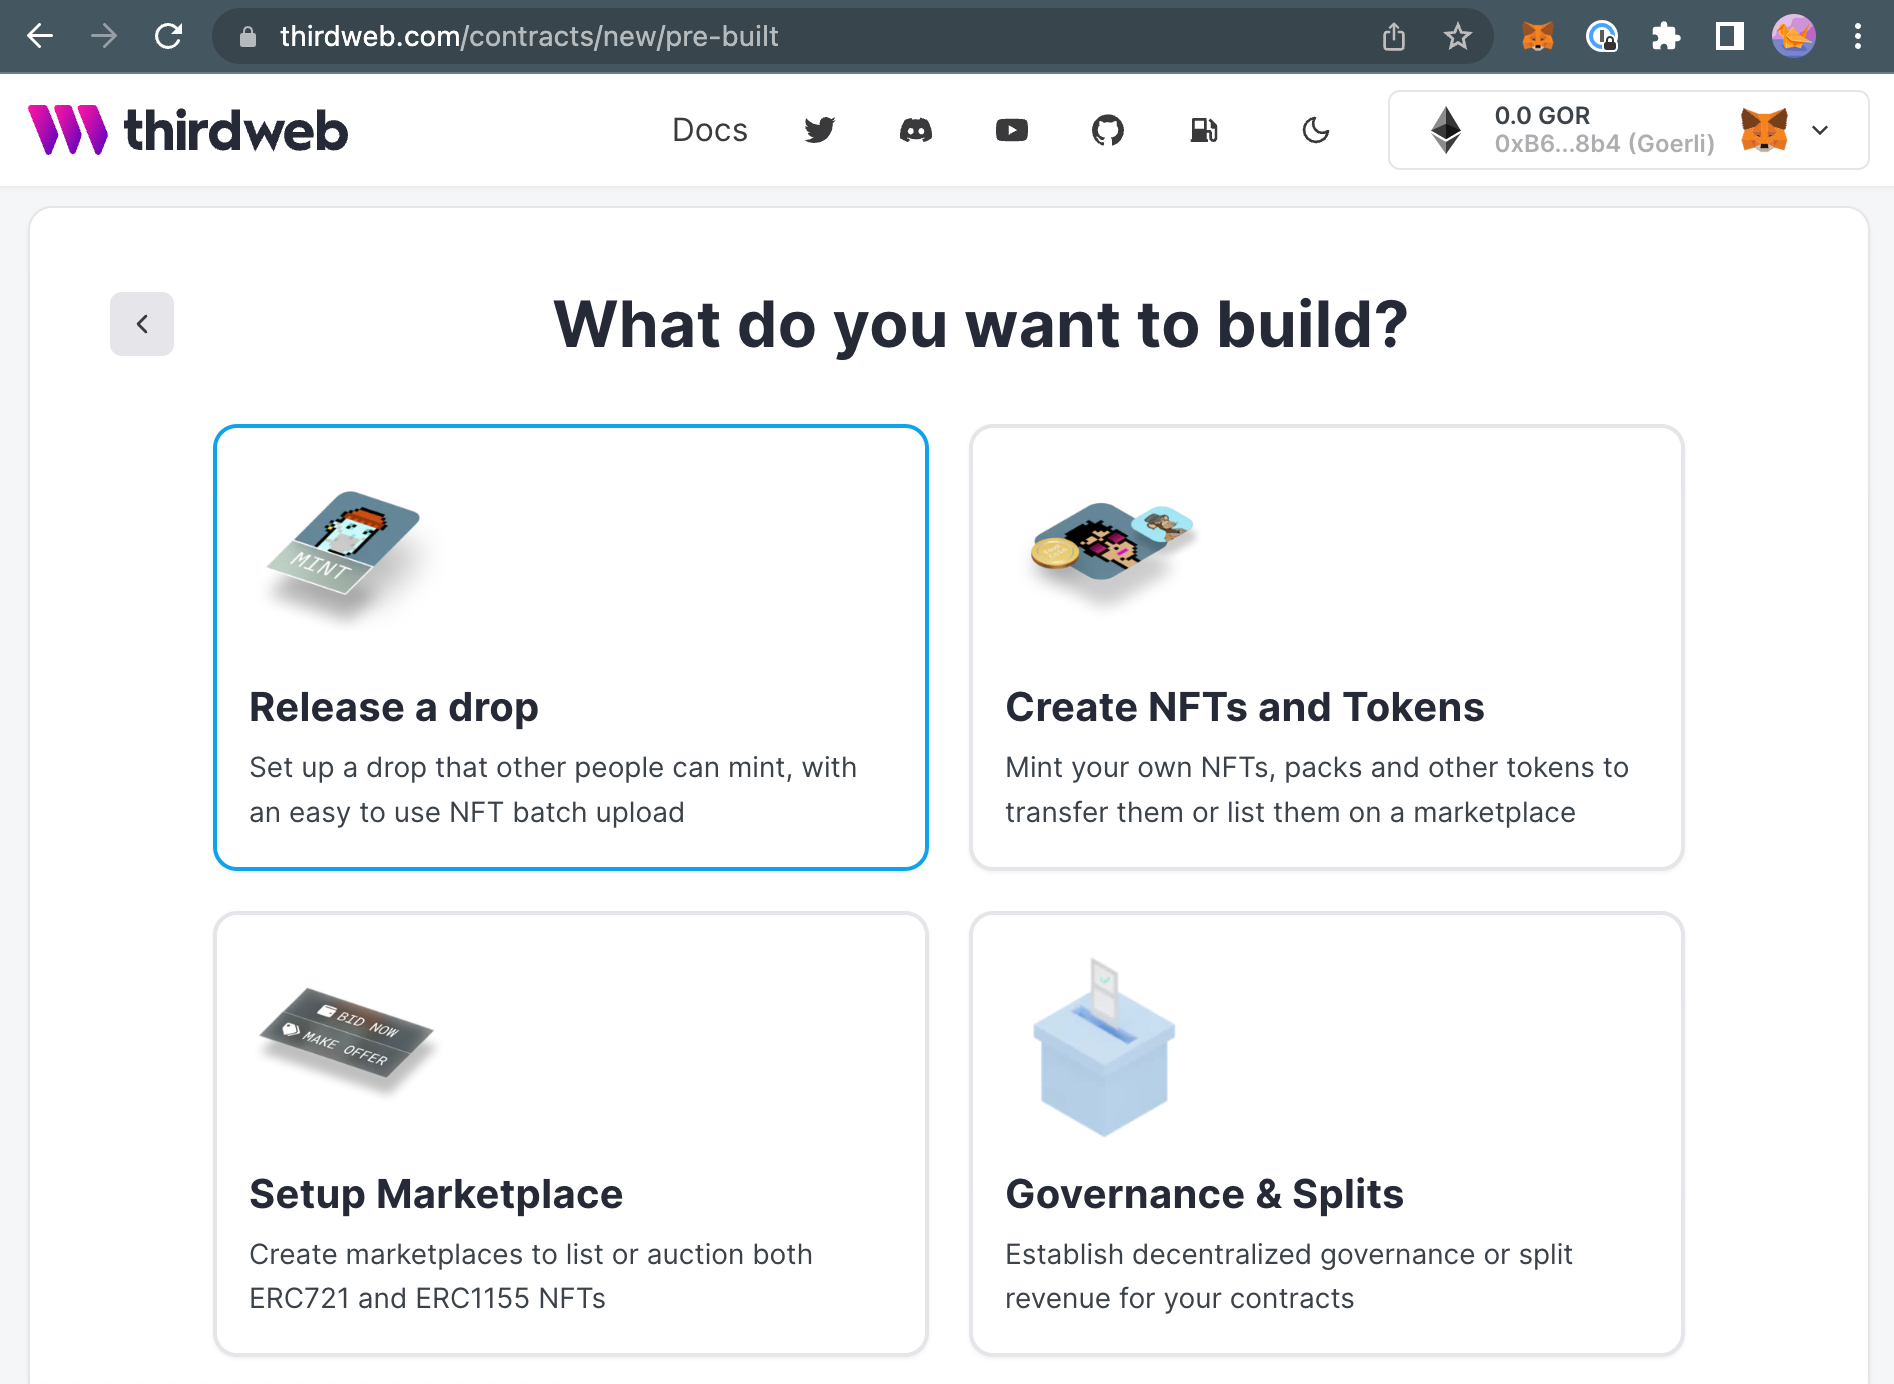
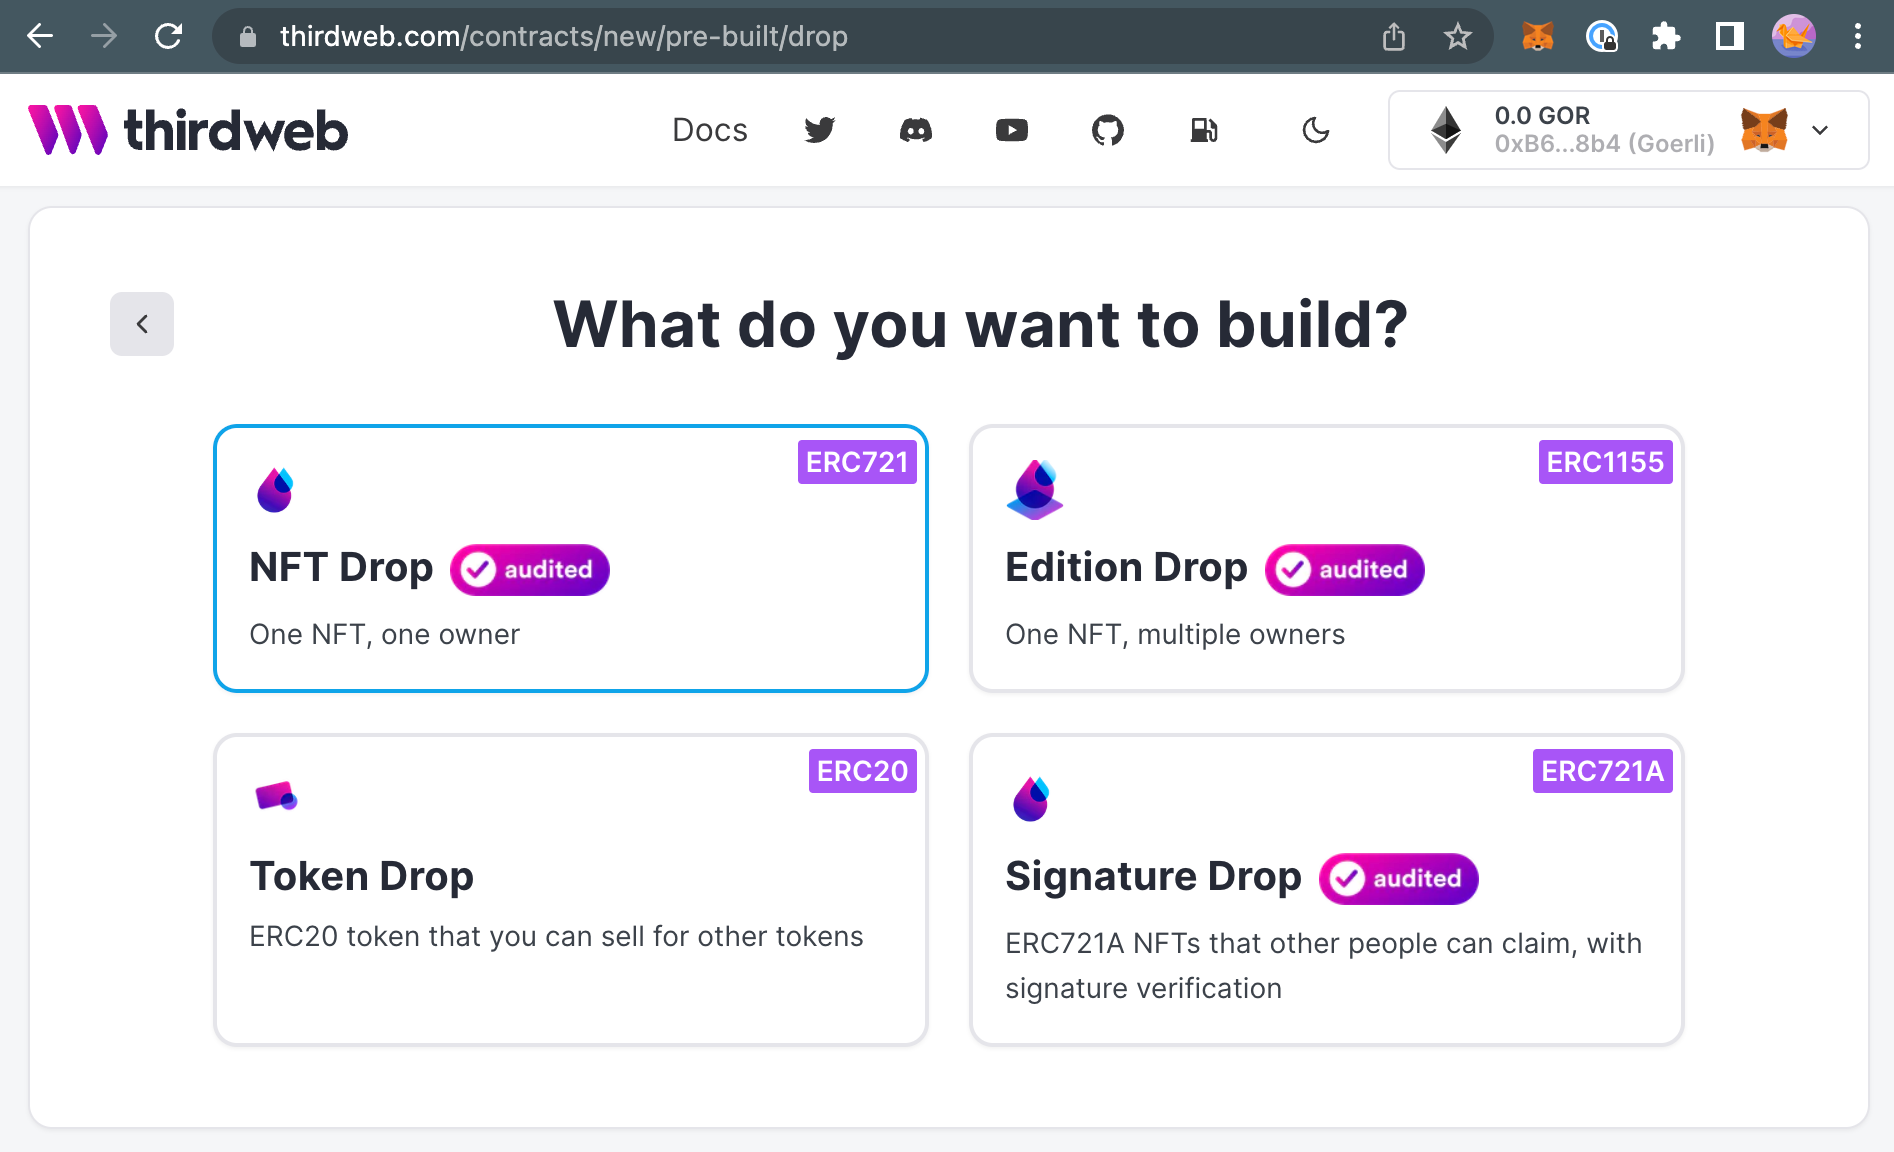
#3) Your wallet should now be connected! Make sure you can see the thirdweb dashboard. Find the "Deploy a new contract" button. Click on “Pre-built Contracts”, then “Release a drop”, then “NFT Drop”. This is the contract we want to build. The NFT Drop smart contract by thirdweb has built-in function that allow lazy minting of our NFTs and makes them available to any users that decide to claim it! It uses the ERC-721 Standard, which is a basic set of functions for NFT smart contracts. Don’t worry if you don’t fully understand lazy minting or ERC-721 yet! It’ll make more sense as we go through the rest of the project.

#4) Like I mentioned earlier, I’ll be creating my NFT collection using images of Rock Lee, with this image of Rock Lee as the display. He’s one of the underrated characters in Naruto imo, and also my halloween costume last year 😅.
P.S. If 20 different people mention “Rock Lee” in the #web3-education channel in the Discord, I’ll post a picture of me in my halloween costume 😬😬
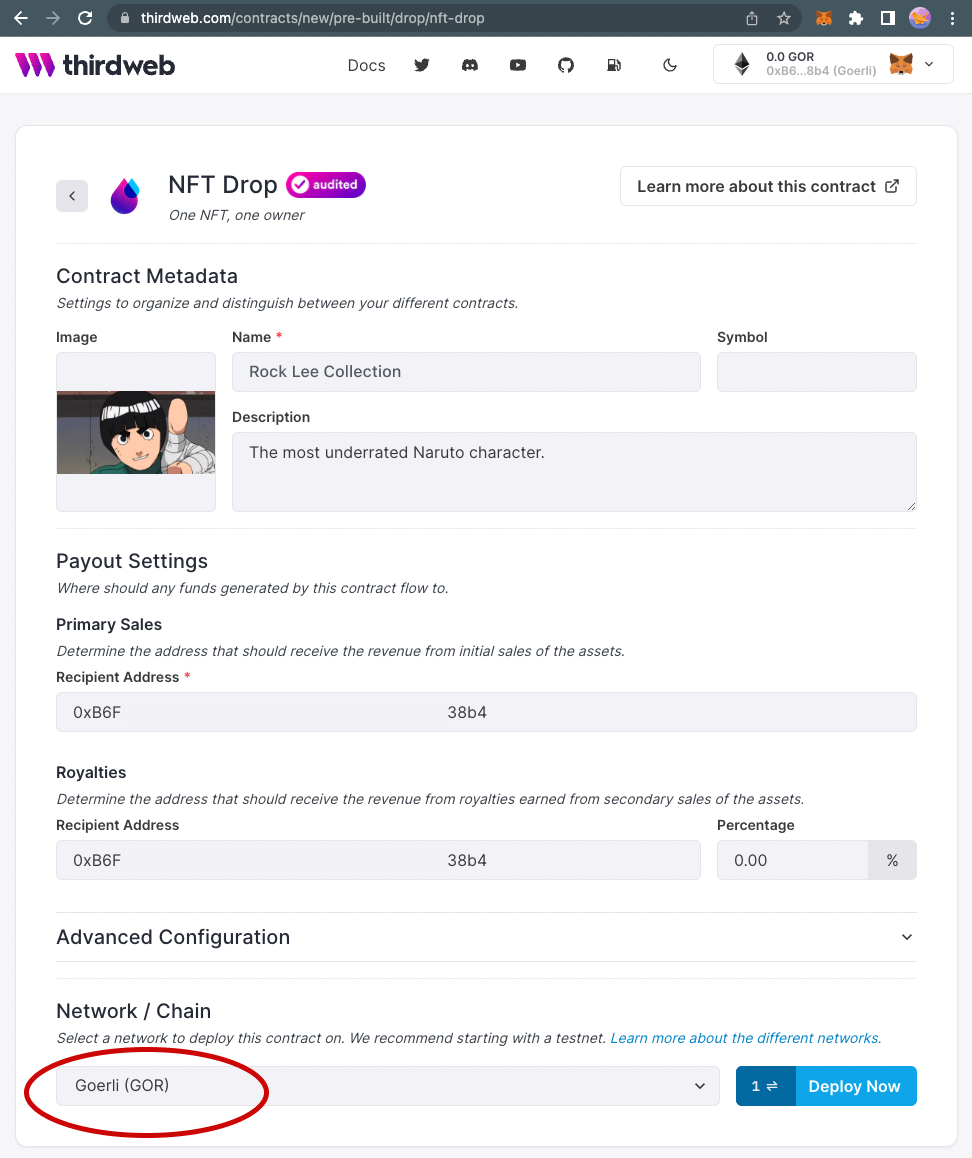
For the NFT Drop contract, add any image of your choice. Feel free to use the same one I did if you can’t think of what to add right now! Make sure to add a name, description, and double check that the “Goerli” network is selected. You may also add a percentage for royalties, which is the proportionate amount you would receive every time the NFT is sold on a secondary market. Pretty cool, right?!

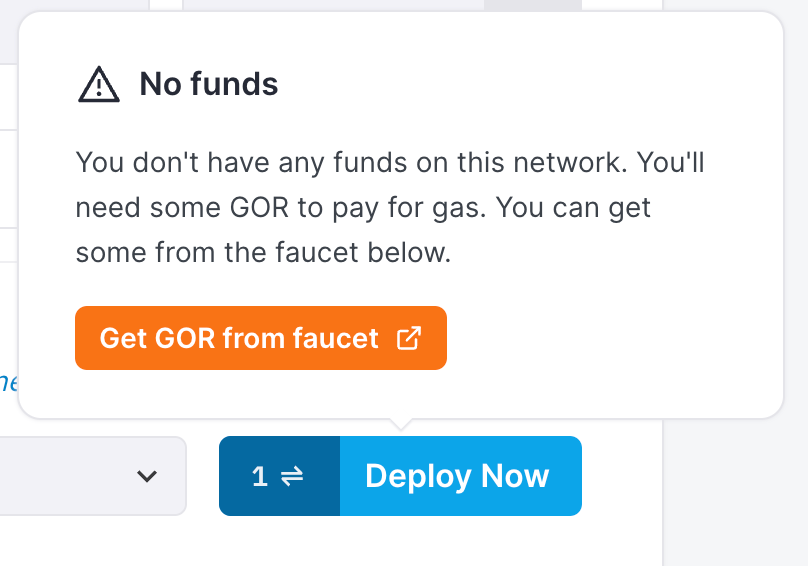
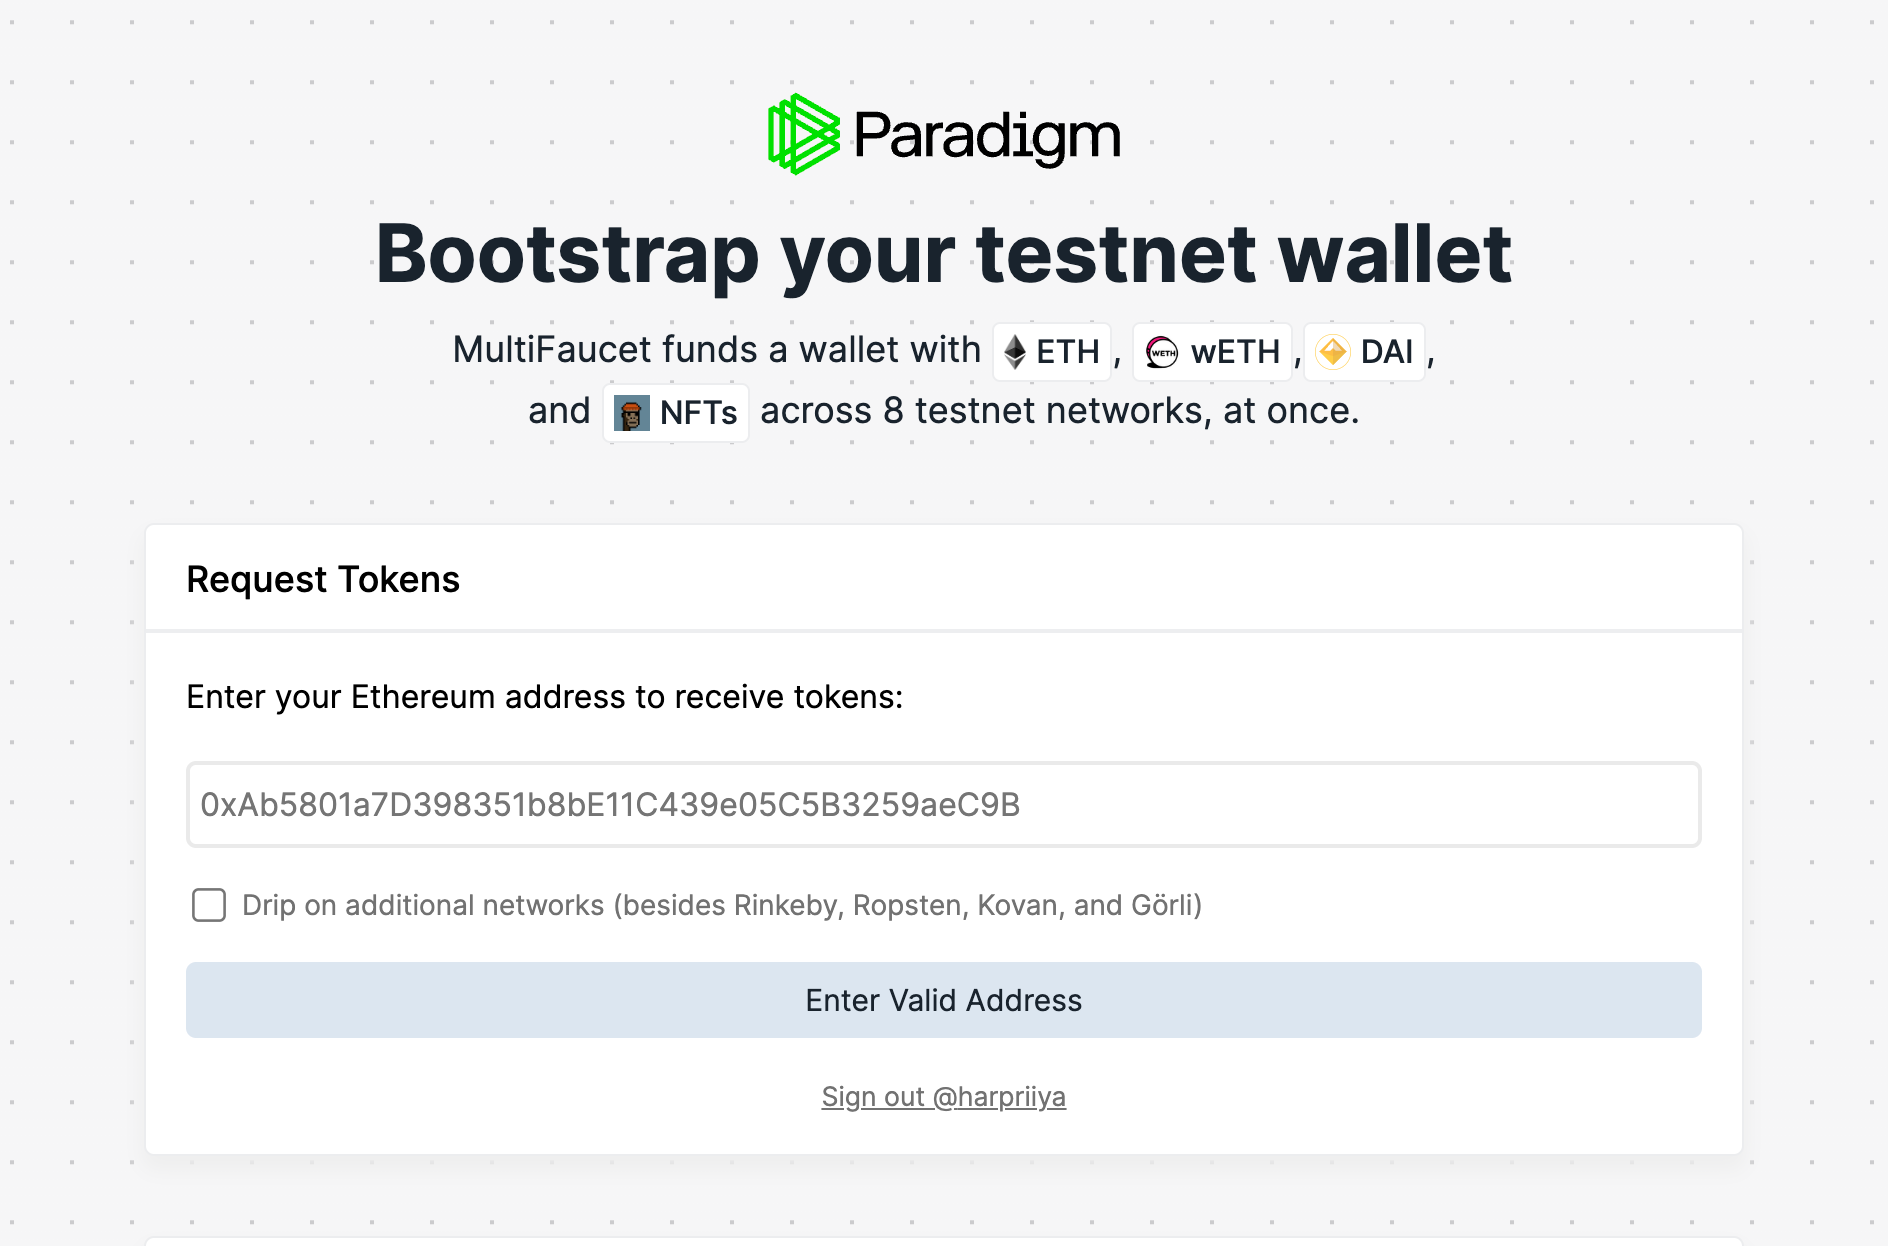
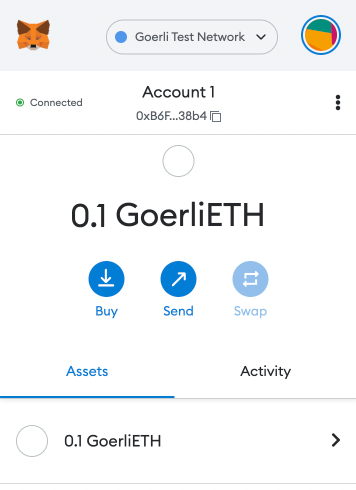
#5) When you click the “Deploy Now” button, you might get a popup that says you’ll need some GOR to pay for gas. Like I mentioned in Step 2, GOR or GoerliETH is basically fake money or fake ETH that the test network uses to deploy stuff or pay for gas (more on this later). Anyways, let’s get some fake money! We do this by going to a place called a “faucet”. Click the “Get GOR from Faucet button” and copy your MetaMask Wallet Address into the new page. You should see your MetaMask update with 0.1 GoerliETH!
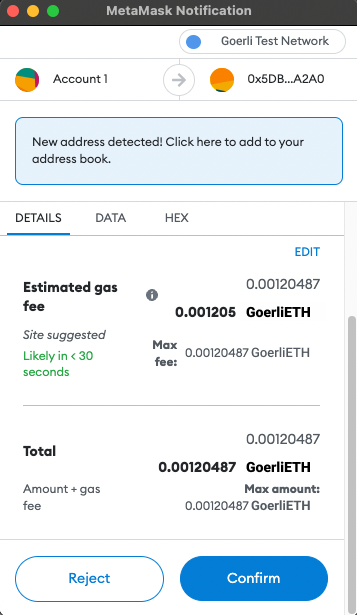
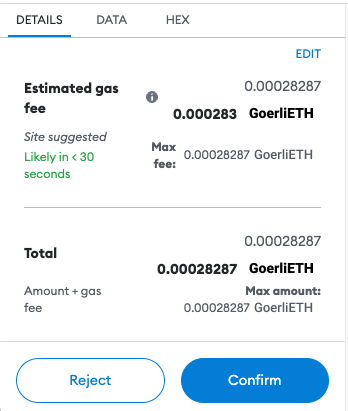
#6) Now that you have your fake money (GoerliETH), you can click “Deploy Now” on your contract page. You should see another MetaMask popup to confirm the transaction. The fee we’re seeing here is called gas. Gas is the amount that is required to perform a transaction on the blockchain. This fee is sent to the miners that process the transaction. Since we’re using fake money (GoerliETH), we won’t actually be charged any transaction fees! Click “confirm” to move to receive this GoerliETH into your MetaMask wallet.
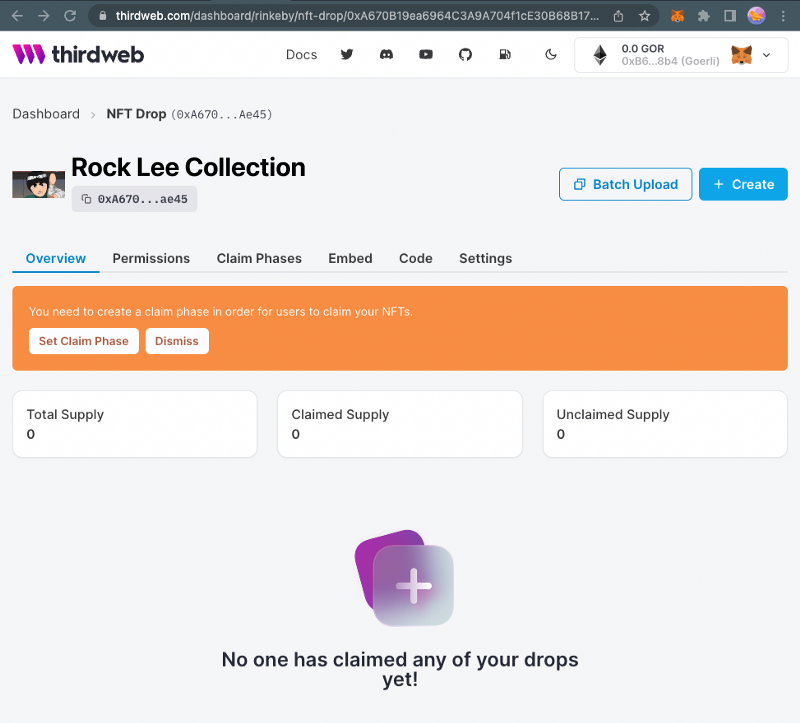
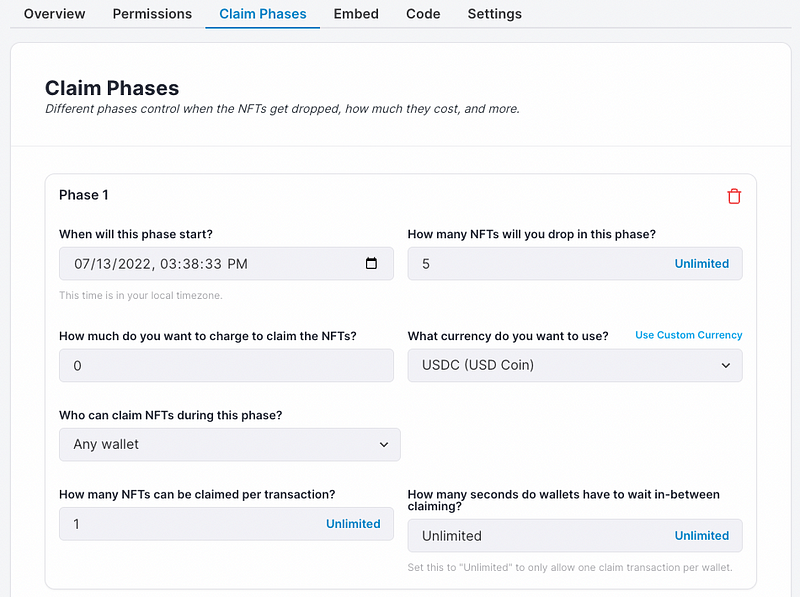
#7) Back on the thirdweb dashboard, we’ll need to set a claim phase in order for users to claim our NFTs. Click “Set Claim Phase”. On the next page, we can decide things like when we want this NFT to be available for sale, how many NFTs we’d want to sell, how much to charge for the NFT and the currency we’d want to sell it in. We can also create an allowlist to have only a selected number of wallets! For my NFT drop, I’ll be setting a limit for 5 NFTs that cost $0, for a maximum of 1 Rock Lee NFT per wallet.
#8) Click “Save Claim Phase” when you’re done selecting your options. You’ll be prompted to confirm this transaction so that the update is processed to the blockchain. But just like last time, this is using fake money (GoerliETH)! Click “confirm” to continue.
#9) On your thirdweb dashboard, go to the "Overview" section. You can click "Create" and then add all the NFTs you'd like to add to your collection. You can add any Metadata here like name, image, description, and property traits.
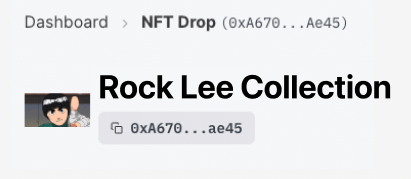
#10) On your thirdweb dashboard click the the button under your NFT title to copy your smart contract address. For me, it’s the one beginning with “0xA760…”. Congrats, you’ve officially created a smart contract!!
Part 2: Build a checkout flow
One of the major hurdles any NFT project faces is getting support or enough people to purchase them. Buying an NFT is especially hard because to purchase one, you need to first find an exchange to convert your fiat currency to cryptocurrency to match the currency on the NFT you’re buying, and then store it in a wallet purchasing. And if the network has high transaction feed (a.k.a gas), you’ll have to repeat the process to account for it! One of the best solutions I’ve found is Paper! Paper offers frictionless NFT checkout so your buyers can purchase your NFT with a credit card. It really is that simple!
Let’s build a checkout flow to work with our smart contract:
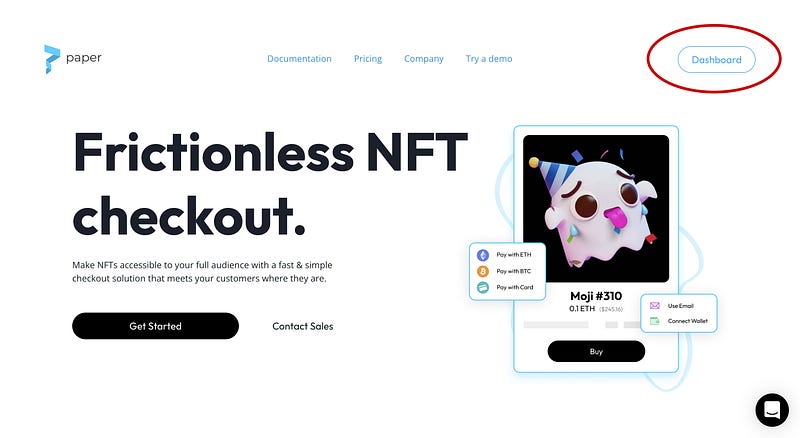
#1) To manage our checkout, we need to open up the Paper Developer Dashboard. Go to https://withpaper.com/, click on “Dashboard” and verify your email to get access!
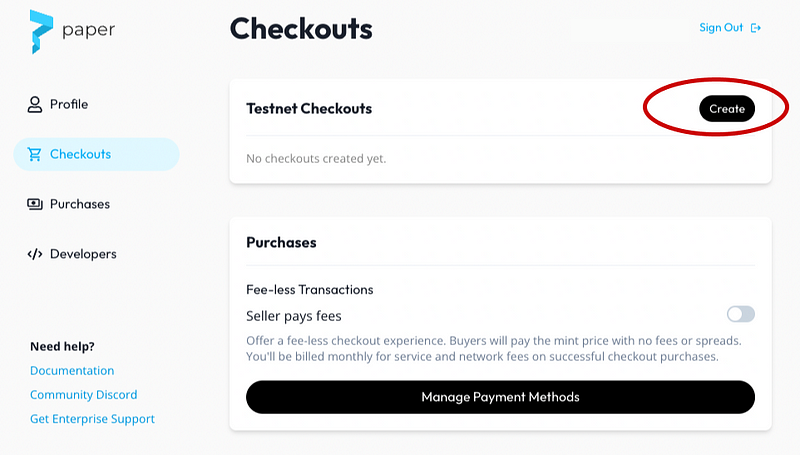
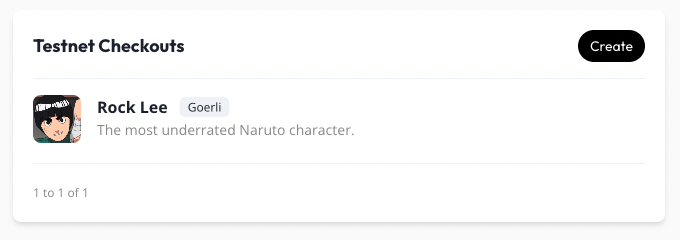
#2) From your Paper Developer Dashboard, go to “Checkouts” by selecting from the left pane, and click “create” under Testnet Checkouts. This is the best way to create a NFT checkout without using any code at all!
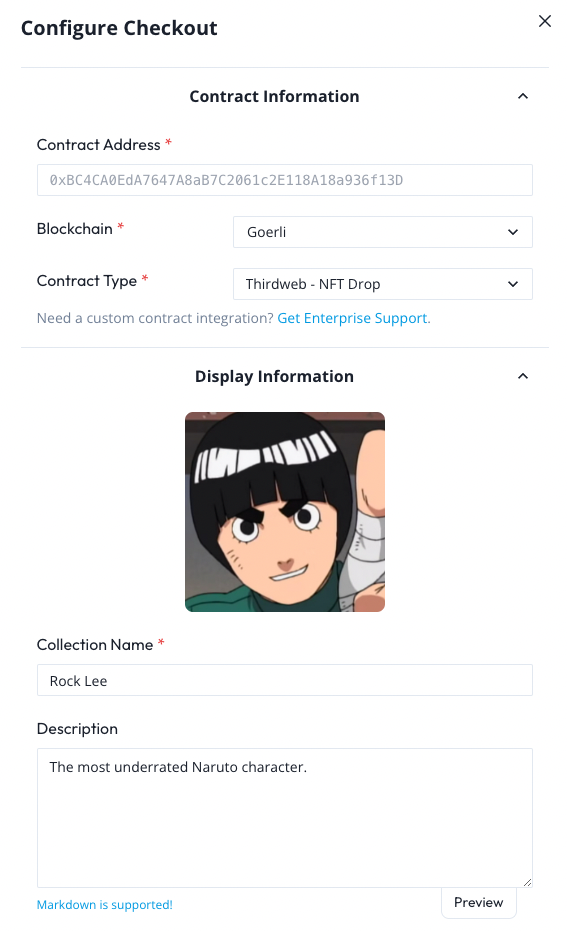
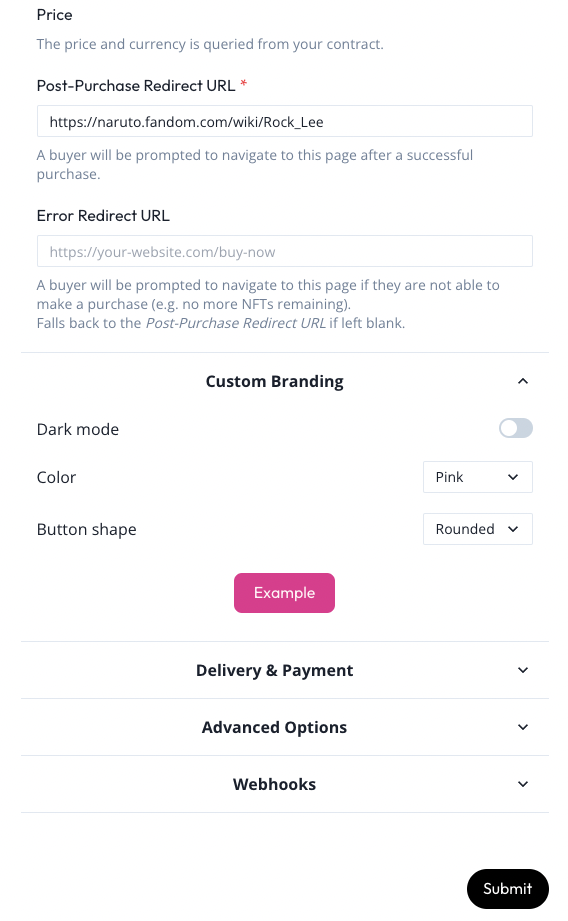
#3) From here, we can configure out checkout and add details! In the Contract Address, paste the smart contract address you copied from thirdweb (step 8). Be sure you select “Goerli” for your Blockchain, and “thirdweb — NFT Drop” for the Contract Type. You should also add a display image for the NFT checkout page so your buyers know what they’re about to purchase! Add a collection name and description just like before! The post-purchase redirect URL is where buyers will be sent after they purchase your NFT. I’ll be sending mine to the Rock Lee fan page!
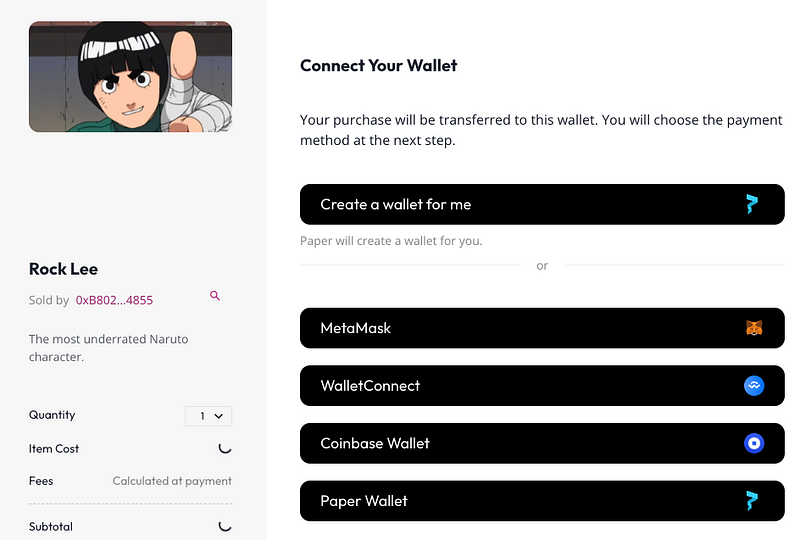
#4) And that’s it! Once you click “submit” you’ll get a “checkout link” which you can open on your browser, send around to your friends, or even post online to get buyers for your NFT! Check mine out here: https://withpaper.com/checkout/c9762690-9f7a-4935-8d54-fd5bee320031

Step 3: Customize!! (Optional, but it’s fun!)
The last step is the most fun part imo and it’s customizing! Paper allows us to customize the checkout experience in so may different ways, but for the sake of this tutorial, we’ll stick to the basics: colors & buttons.
#1) Head back to the Paper Developer Dashboard where we first created a checkout. Click on your most recently created checkout. For me, it’s the Rock Lee one.
#2) Next, click edit on your “Checkout Details”
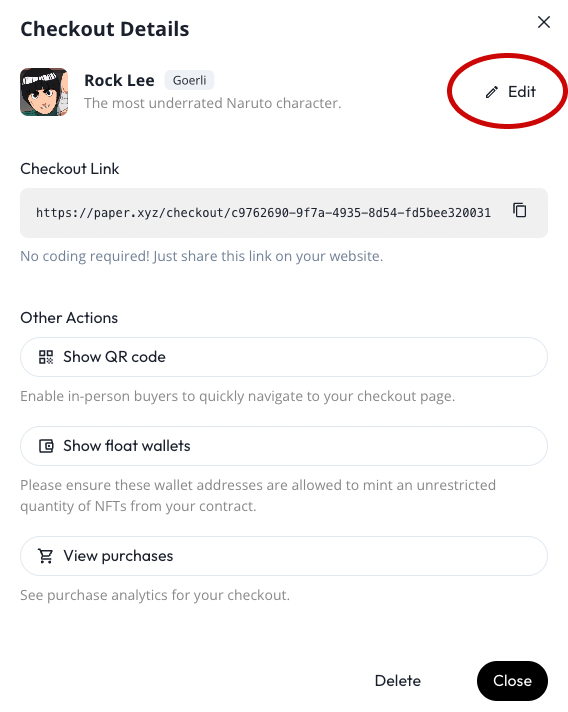
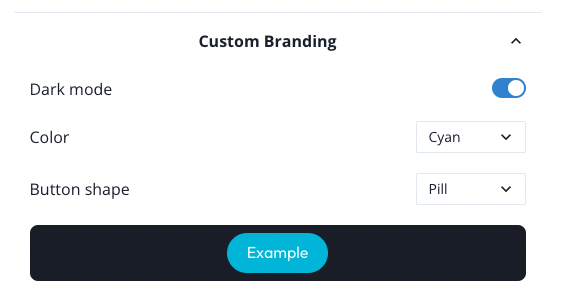
#3) And lastly, scroll to the bottom and click “Custom Branding”. This is where you can change all the accent colors and buttons to match any theme of your choosing!
Paper offers tons of ways to customize the checkout experience for both the seller and the buyer so that they can deliver a frictionless experience! Here’s a doc outline a bunch of more ways to customize your checkout experience: https://docs.withpaper.com/docs/
And that’s it!! Hope you had fun creating and selling your NFT with me. I’d love to see what all of you come up with. Make sure to post your NFTs in the Paper Community Discord. That’s also the best place to ask for help if you get stuck during any part of the tutorial. I’ll be around to help!
If you liked this tutorial, drop a comment in the #tutorials channel in the Paper Community Discord. I had loads of fun making this tutorial so there will definitely be more coming soon.
See ya for the next one!
-Harpriya